Thursday, November 23, 2017

Scott MTB Elite Boa Shoe

For cycling, other than the usual components on the bike, the soft goods (such as gloves, attire, shoes, bags) can also make a difference to your ride. Using good looking and functional soft goods can also become a fashion statement, to let other people know your style.

I have been using SPD shoes and pedals on my bikes since 2012, and it was a good decision as there are many advantages. For more details, just check out this link. My favourite shoes are the Shimano RT82 road touring SPD shoes, which are comfortable and look good. I am not a fan of road shoes as the exposed cleats make it difficult and sometimes dangerous to walk around.

However, I recently discovered that the RT82 SPD road touring shoes have been discontinued, and the replacement shoe is the RT500. I did buy the RT500 shoe to try out, but I did not really like it as it features 3 velcro straps instead of the ratcheting mechanism to tighten the shoe. This makes it rather cumbersome to wear and remove the shoe. Also, it was too boring, being all black in colour.

At the same time, I also tried out the Boa Dial Lacing system on a friend's cycling shoes, and I loved the convenience and adjustability that it brings! It makes it so easy to put on or remove the shoe with one hand, and also allows micro adjustment of the tightness (for higher end Boa Dial models).

Therefore, I looked around for a new cycling shoe that fits the following criteria:
1) Uses SPD cleats (MTB type, not road SPD-SL)
2) Has the Boa IP-1 dial for micro adjustability
3) Sleek looking shape that does not have a too rugged MTB look
4) Some bright colours to make the shoe look less boring

Not many shoes actually fit into these criteria. With the requirement to be a SPD compatible shoe, all the nice looking road shoes are out. This leaves the off-road shoes which are mostly MTB shoes, which look rugged with aggressive treads on the sole.

Adding the requirement for a Boa IP-1 dial narrows down the list even further, to a very limited number of higher end shoes, as the IP-1 dial is the highest level of Boa dial used for cycling shoes.

Finally, I came across this Scott MTB Elite Boa shoe online. This shoe seems to match all of my selection criteria, with an acceptable price (around $150 inclusive of shipping).

Scott MTB Elite Boa shoe, with eye-popping touches of bright orange and green colour.

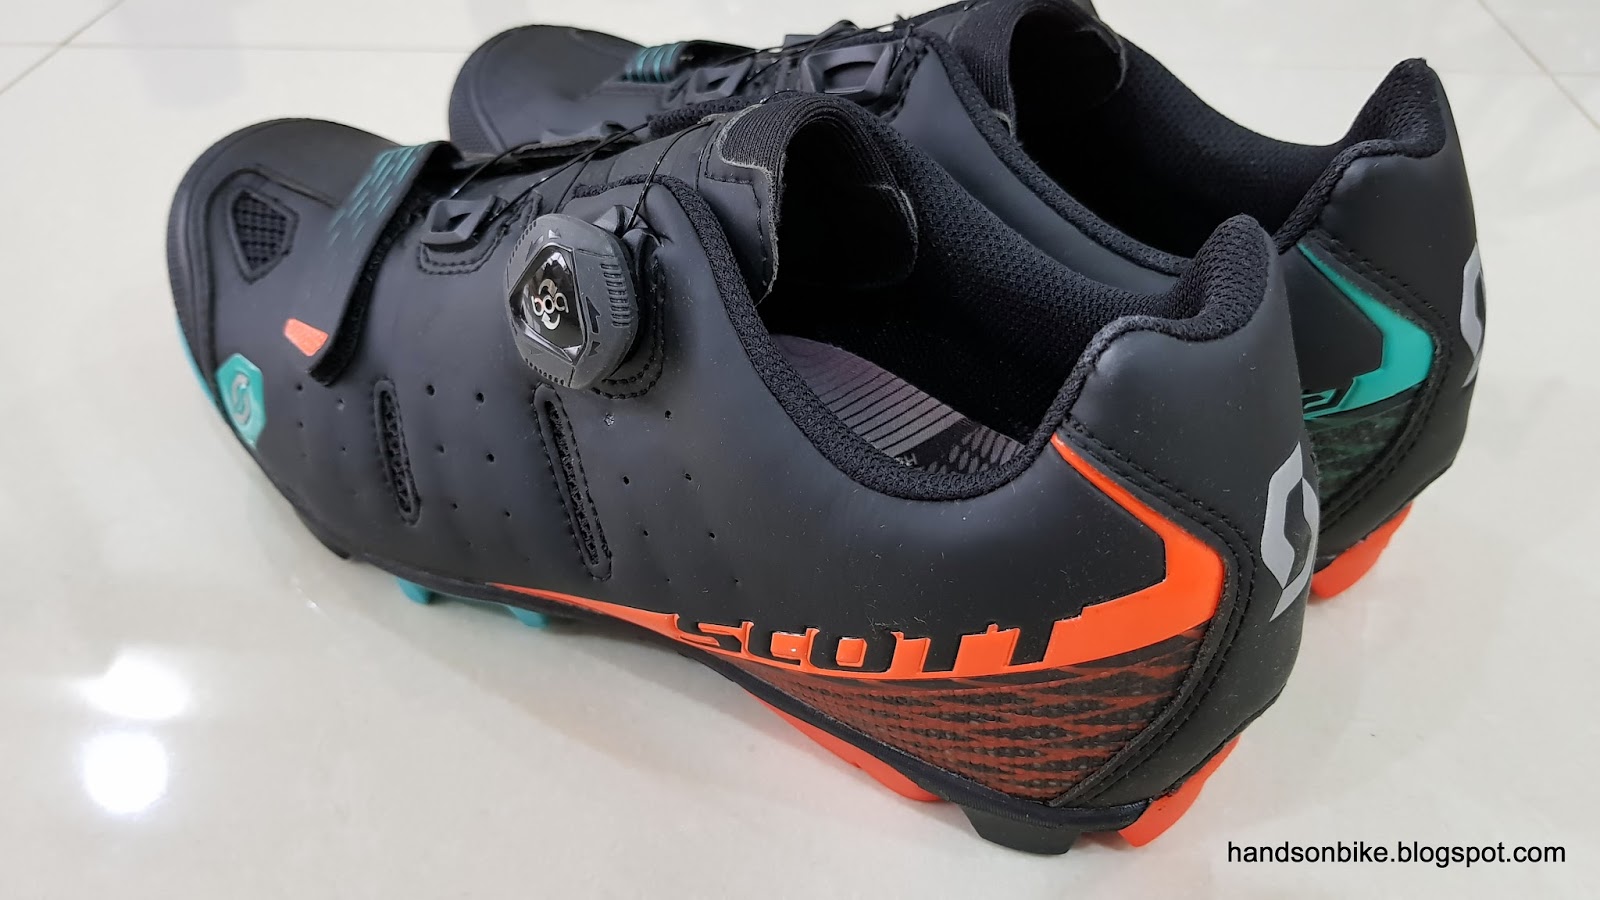
I like the graphic design on this shoe, with the bright colours added tastefully to the black shoe without overdoing it.

The treads are not too tall, giving this shoe a lower height and also sleeker look compared to most MTB shoes.

As it is ultimately still a MTB shoe, it has some treads for off-road grip, but not with an excessively aggressive design.


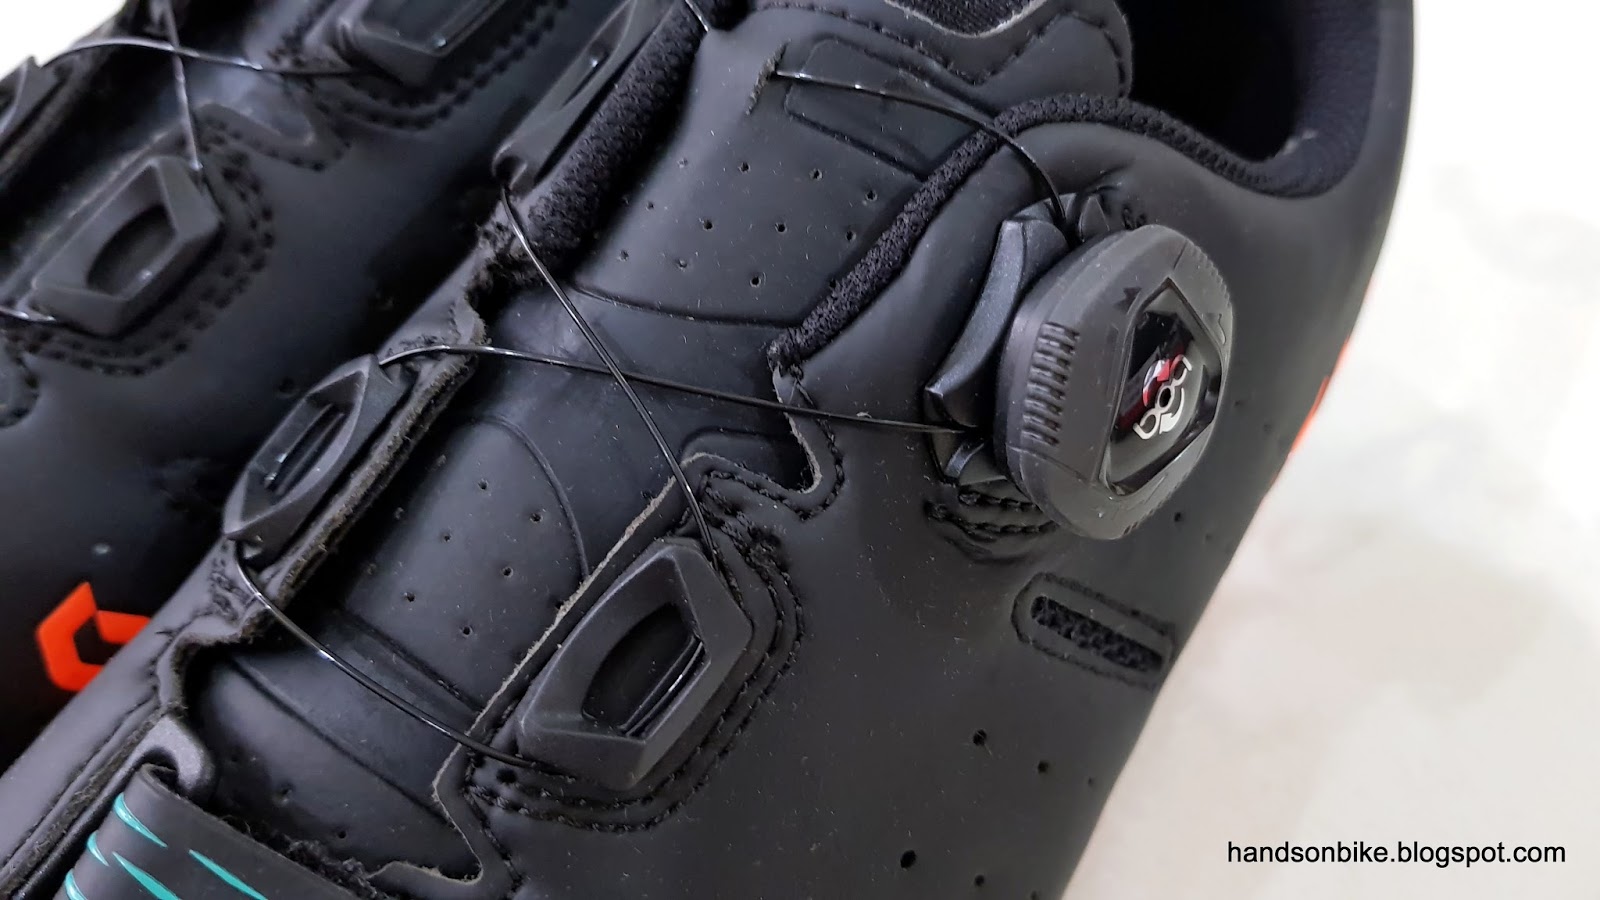
The highlight is the Boa IP-1 dial, with the plastic-coated steel wire and the low friction cable guides.

The additional feature of the IP-1 dial compared to the cheaper L6 or L5 dials is the ability for micro-release (turn to loosen). On the other dials, if you want to loosen it slightly, you will need to pull up the dial to release it completely and tighten again.

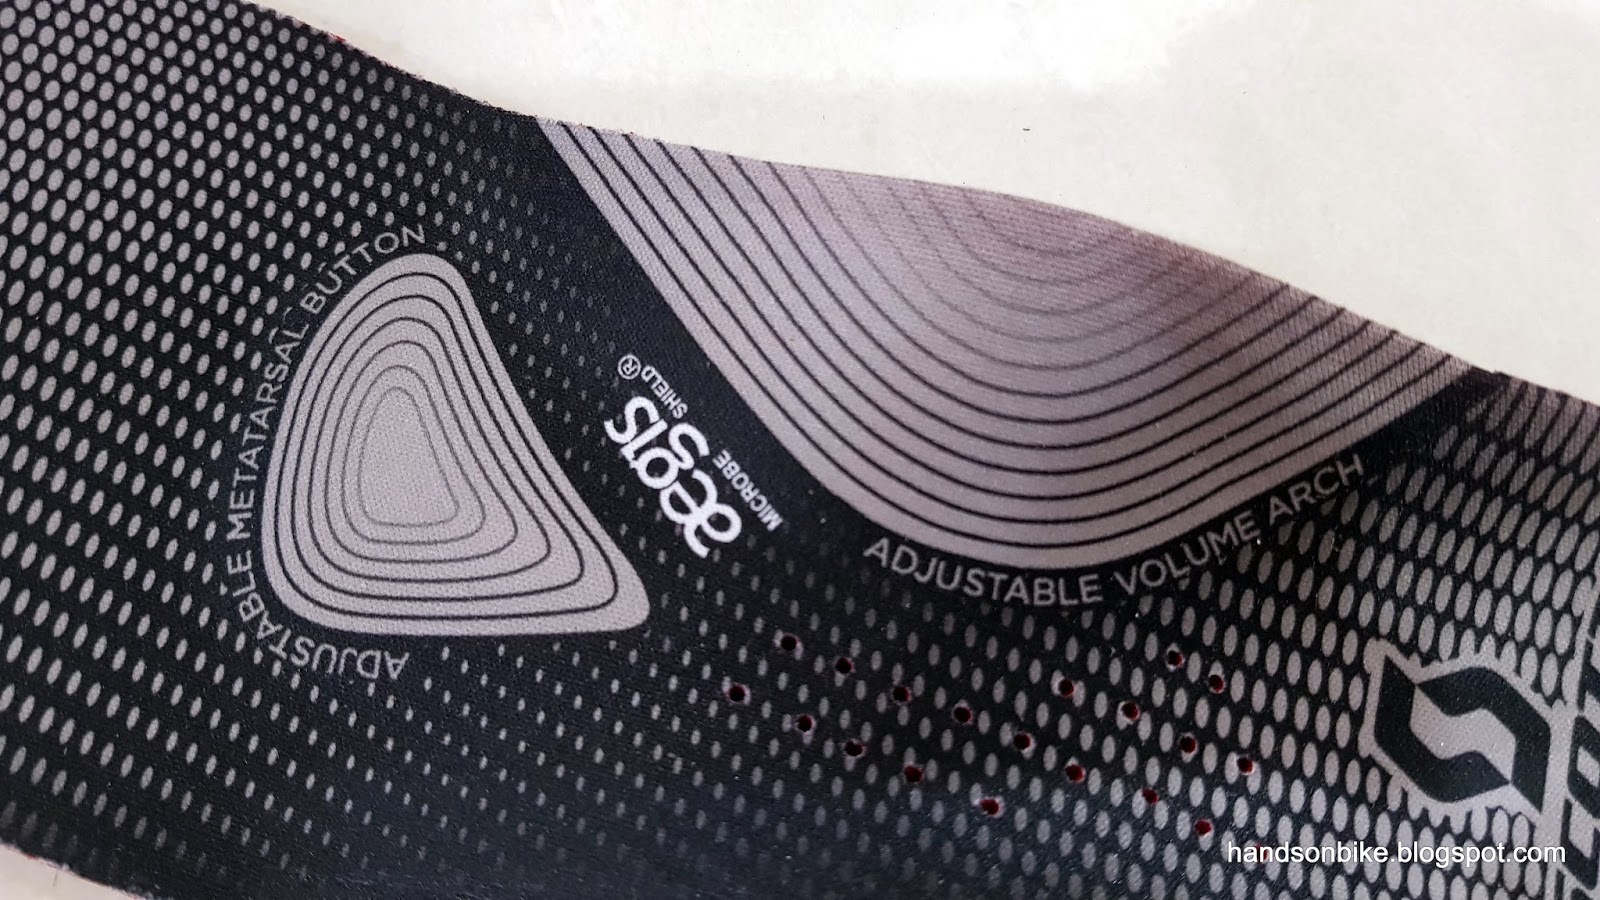
The arch and metatarsal area is adjustable to fit different sole profiles (high arch or flat foot)

It is adjustable through the use of different inserts at the bottom of the sole insert. However, the shoe did not come with the other inserts (sold separately) and so I could not change them to try out.

Cleat nut on the inside of the shoe, for the cleat bolts to tighten into from the outside.

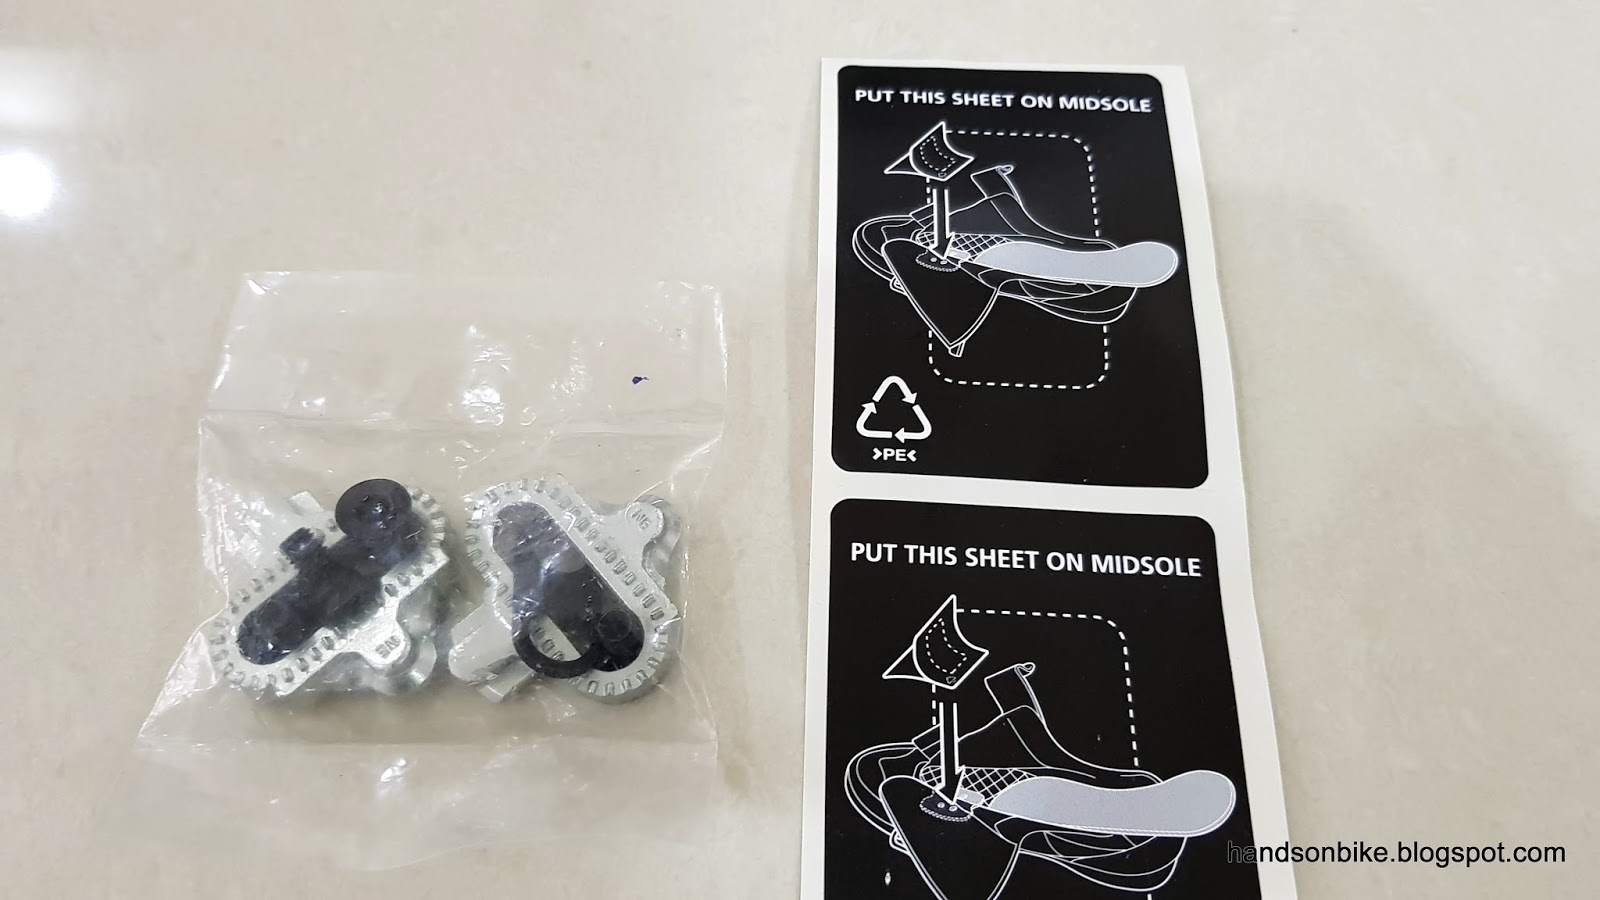
Shimano SH56 multi-release cleats, and the sticker to cover up the cleat nut on the inside to prevent water getting in. The cleats and the stickers are not included with this Scott shoe.


Just for future reference, this Scott shoe weighs 388 grams (inclusive of cleat nut but no cleats). Not lightweight, but does not really matter.

Comparing the length of the shoes (both are Size 42), they are almost the same.

Similar ground clearance and curved shape at the front bottom of the shoe

The Scott shoe has a more divided sole pattern, while the RT82 sole is very simple with no fancy colours or design.

The sizing is spot on for me, as it fits perfectly to my foot. What I really like about this new Scott shoe is how well and comfortable it fits. Normally a new shoe will need a break in period to make it feel comfortable, but this shoe is comfortable from the moment I put it on. The shape and fitting is fantastic!

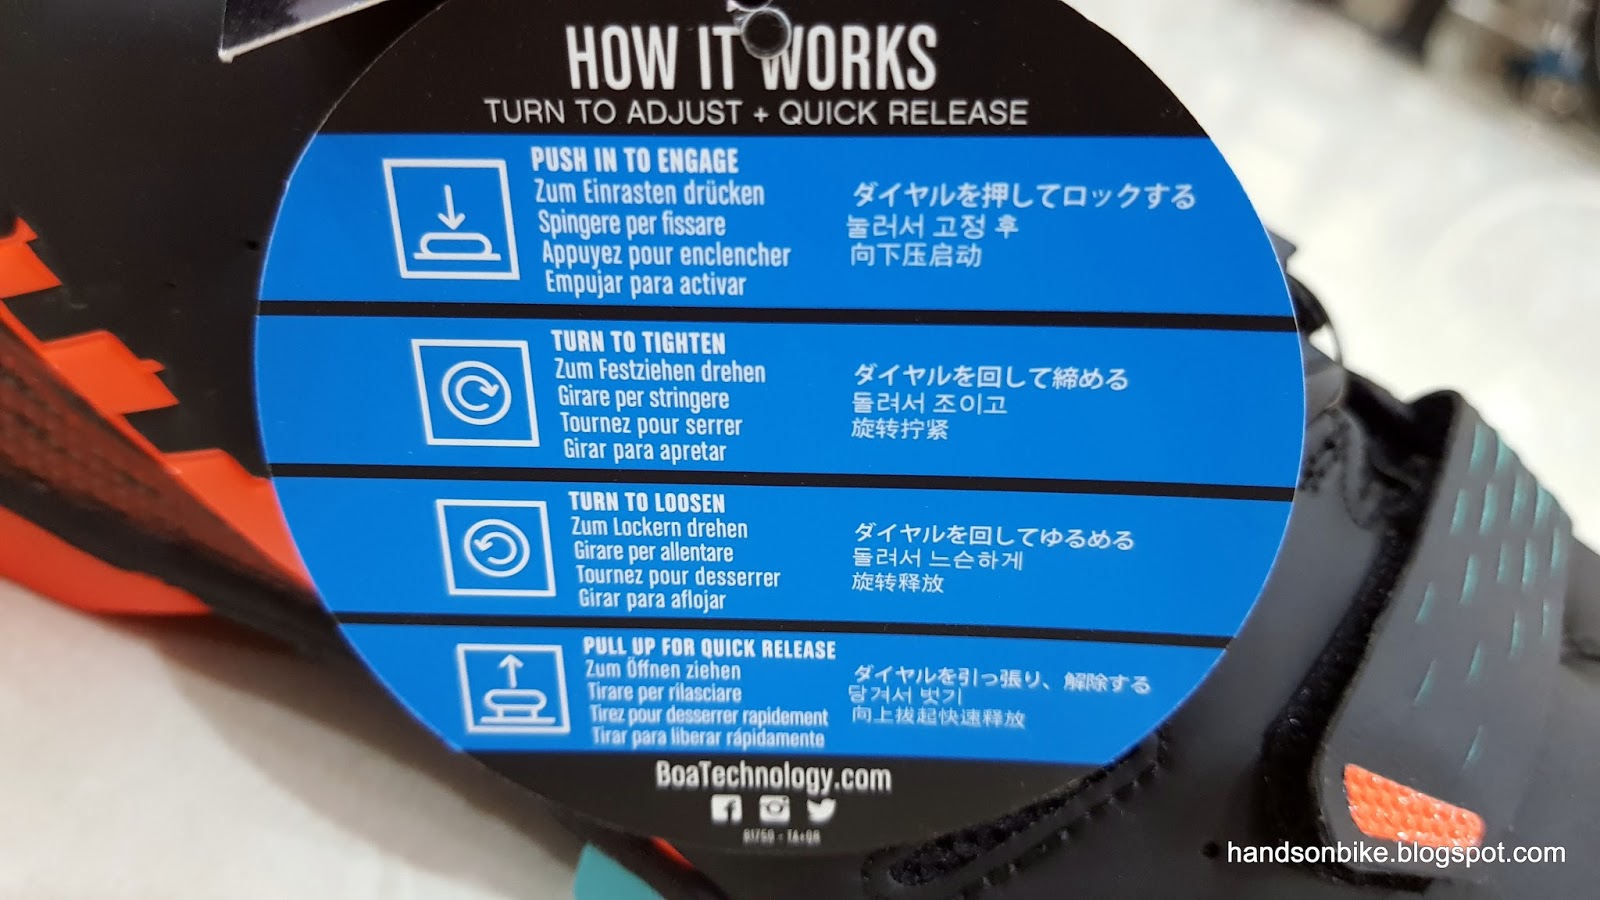
As for the Boa IP-1 dial, I really like the ease of putting on the shoes. Just slip your foot in (no need to loosen any straps), press down the dial and turn the dial to reel in the wire. Adjust the tightness as necessary by spinning the reel. There are no pressure spots as the pressure is distributed evenly across the foot by the wire and the wide tongue. At the same time it also feels very secure and snug with no loose areas.

Adjusting the tightness on the fly is also possible, just with a small turn of the dial. The micro adjustment comes is super handy here as you can really fine tune the tension to get the perfect balance between security and comfort.

Removing the shoe is even easier. Just pull up on the dial to release the ratcheting mechanism, and pull out your foot. The wire will automatically loosen and allow your foot to be removed, as the ratcheting mechanism in the dial has been disengaged.

The velcro strap at the front does not need to be adjusted or used during normal usage, as it does not affect the wearing or removal of the foot from the shoe. You just need to adjust it one time during initial setup, and then you can leave it alone.

This shoe feels and looks great, and I really like it a lot, even more than the previous RT82 road touring shoes. The colours are exciting but not too flashy, while the fitting and comfort is perfect. Of course, this shoe might not suit everybody, but it works really well for me.

Saturday, November 18, 2017

Canyon Endurace: Front and Rear Light Mounts

Although the Canyon Endurace frame is very nice, one problem is finding a proper place to mount front and rear lights. Usually, the rear light is mounted on the seatpost, while the front light is mounted on the handlebars.

However, for this bike, the seatpost is a special VCLS suspension seatpost which needs to flex. As such, I cannot wrap the mount or rubber strap around the suspension area or it will restrict the flexing of the seatpost.

As for the front light, it cannot be mounted on the handlebar as it is an integrated handlebar with no round section to mount the light clamp.

First, let's work on the rear light. I have a Moon Comet rear light which comes with a saddle rail mount, let's see if it can fit.

Weight of the modified Cateye saddle mount with Moon Comet bracket 

Weight of the Moon Comet rear light without any bracket or mount

Installing the Moon Comet rear light onto the rear of the Fizik Aliante R3 saddle, using the saddle rail mount.

Another view of the light installed under the saddle

Light is mounted vertically so that it looks better. Good location for a rear light.

Installing the rear light is easy, as it can be mounted under the saddle. However, for the front, there is no easy solution as the handlebar cannot be used to mount the front light. Luckily, from my experience of working on other bikes, I know that I can actually mount a front light on the fork legs. On the Avanti Inc 3, I managed to mount a Moon Nebula W front light onto the front fork leg, using the new type of mount.

I do have a couple of Moon Comet front lights, bought a few years ago when they were first launched. Even now, they are still working fine, and I really like the glowing LED strips. What I need is the new mount which allows mounting on non-cylindrical surfaces.

Bike31 is the official distributor of Moon lights in Singapore, and they do sell the mounts separately. Once I get the new mounts, I will be able to use them to install Moon front lights onto the front fork legs of the Canyon bike. One thing to take note is that the mount does not come with the rubber strap. This is no big issue as I have many spare rubber straps from the many sets of D-Light front and rear lights.

New type of Moon mount, which enables mounting on non-cylindrical surfaces, such as the bladed shape of a front fork leg.

2 new mounts on top, with the 2 Moon Comet front lights. Rubber straps are from the D-Light lights.

Each set weighs 51 grams, which means a total of 102 grams for a pair.

With the angle adjusted, the pair of Moon lights have been mounted on the front fork legs of the Canyon bike.

This is the only place I could think of to mount front lights on this Canyon bike, due to the integrated handlebar.

With the Moon front and rear lights mounted on the Canyon Endurace, this bike is now ready for night riding. I am especially pleased with the placement of the front lights, because they look good as a pair, with the wide illumination angle ideal for good visibility.

Sunday, November 12, 2017

Canyon Endurace: Selle Italia SLR Titanium Saddle

On the Canyon Endurace bike, the stock Fizik Aliante R3 saddle is a pretty nice saddle. Once the saddle angle has been adjusted properly, it gives great support when riding in the hoods or drops. However, due to the high upsweep of the saddle at the tail end, it gets in the way when I try to sit up straight to hold the top of the handlebar. It is great for riding in the hoods, but not so when sitting up.

The Canyon Endurace comes with a nice integrated handlebar + stem, which is very comfortable to hold at the top, as it is flat and wide which is a good place to rest the palms on. As such, I find myself using the top of the handlebar more often then on other drop bar bikes. Therefore, I need to change the saddle to enable me to sit up comfortably.

On the Merida Scultura 5000 and Java Freccia, I have used the Selle Italia SLR Kit Carbonio Flow saddle, which is both lightweight and comfortable. However, on this Canyon bike, the VCLS seatpost saddle clamp has a side clamping design, which makes it unsuitable for use with carbon saddle rails.

The next lightest and still comfortable saddle would be the SLR Titanium version that has titanium rails instead of carbon rails. This will make it suitable for the side clamping design of the VCLS seatpost. Also, the VCLS seatpost has saddle clamp for round rails, which is also the type that is on the SLR Titanium.

Selle Italia SLR Titanium saddle

Claimed weight is 145 grams, which is just 20 grams more than the SLR Kit Carbonio Flow with carbon rails.

Best of all, it has a red coloured version that seems to match the frame colour quite closely!

Titanium rails on this saddle for lightweight

Simple and clean design at the bottom, with a thin shell to support the thin fabric

Weighs just 141 grams, which is also very lightweight

The red colour on the saddle matches the Kerosene Red of the frame quite closely, with a roughly 90% match!

Due to the setback of this seatpost, I have to set the saddle all the way to the front to get the correct fore-aft saddle position. I don't see an issue since the weight is mostly at the back of the saddle.

New saddle installed on the bike! Lightweight and also matches the frame colour.

With this new saddle, it feels the same as the Merida and Java bikes which also have a very similarly-shaped Selle Italia saddle. Although there is no cutout in the middle of this saddle, it feels fine. Compared to the Fizik Aliante R3, this saddle is very flat, and allows me to sit up straight without being blocked by the tail end of the saddle.

Saturday, November 4, 2017

Dahon Vitesse: 2x10 Speed Flat Handlebar Setup

The Dahon Vitesse has come a long way since I started being interested in folding bikes. From the my first Dahon folding bike, the Dahon Boardwalk, to this Dahon Vitesse, I have learnt so much about folding bikes from modifying these two bikes.

Previously, the Dahon Vitesse had a 2x10 speed bullhorn bar setup, which was great for touring or fast riding due to the aerodynamic riding posture. Now, the focus has changed to just normal recreational riding, which means that the bullhorn bars will be removed to get a more compact fold and simpler setup.

This means that the handlebar area and shifters will be changed, while the drivetrain components such as the rear derailleur, front derailleur, cassette, chain, and crankset will remain. At the same time, I will service the bike by cleaning up the components.

One advantage of this setup is that I can revert to using normal V brakes, instead of the long arm caliper brakes which do not give very good braking power.

Using Tiagra 4600 2x10 speed shifters and brake levers for this flat handlebar setup

LitePro stem is still there to mate the flat handlebar to the T type handlepost

Kickstand and mudguards will remain on the bike as they are still very useful

Changed back to normal V brakes for simple setup and good braking function

Same Shimano 105 drivetrain components, no upgrade required

Colour scheme is generally silver and black. Only stock components are the frame, fork and seatpost.

Still a smart looking bike with Shimano 2x10 speed road components

With a flat handlebar, now it folds compactly as well! A definite plus for storage.

With this restoration, this Dahon Vitesse rides as well as a new bike again! Gear changing is smooth and accurate with good braking power. Rolling resistance is minimised with the smooth rolling PZ Racing wheelset, while the Marathon Racer tires are comfortable yet fast.

Final weight is about 10.5kg without the folding pedals.