It has been a few months since I did an upgrade on the
Avanti Inc 3 all-weather commuting bike, and more than a year since any major component upgrade. The recent trend in road bike is disc brake road bikes, where the superior hydraulic disc brakes replaces the traditional caliper brakes.
I had considered changing my
Merida Scultura 5000 road bike for a road hydraulic disc brake road bike, but the time is not right yet. The technology for new road hydraulic disc components are only just beginning to mature, so it is a bit too early to change to a road hydraulic disc bike that is future proof. By future proof I am referring to the road hydraulic disc specifications that are becoming the standards, such as Flat Mount disc brake caliper mounting, 12mm front and rear E-Thru Axles and 140/160mm disc brake rotors.
Flat Mount brake caliper mounting, 12mm front and rear E-Thru Axles, 160mm disc brake rotors. However, the shifters are still not the Dura-Ace R9170 version which are more compact.
There are a couple of road hydraulic disc components that are currently available during this transition period, such as the
mechanical shifter ST-RS685 and the electronic Di2 shifter ST-R785. Note that these are the first generation road hydraulic disc components, and thus they are not as refined as they can be.
A glimpse of the 2nd generation components can be found in the new
Dura-Ace R9170 road hydraulic disc groupset, where the shifter is similar in size, no matter mechanical or electronic shifting, no matter mechanical or hydraulic braking. Those are not available just yet, although it will be available later this year.
4 different types of Dura-Ace shifters.
From left to right: Di2 + Hydraulic Brake, Di2 + Mech Brake, Mech Shifting and + Mech Brake, Mech Shifting + Hydraulic Brake.
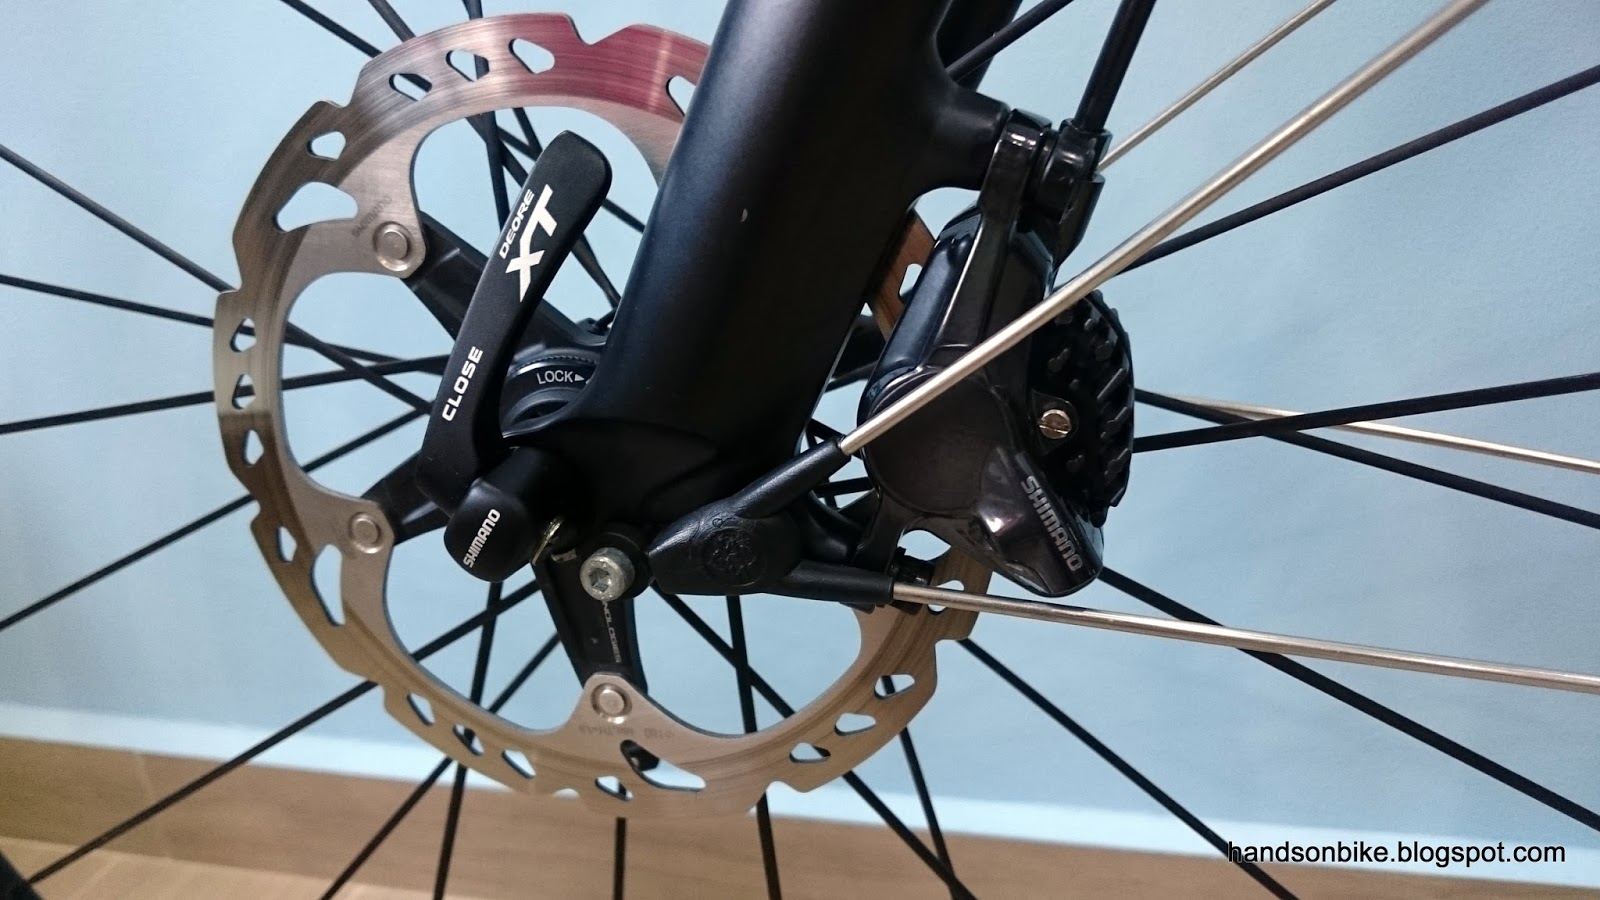
A normal road bike frame cannot be converted to use disc brakes, as the frame and fork will need disc brake mounts, and the wheel hubs will need to have disc rotors fitted. Incidentally, this is what the Avanti Inc 3 already has...
This gave me an idea, which is a pretty wild idea. Converting the Avanti Inc 3 from a flat handlebar bike to a drop bar bike that is somewhat similar to a road hydraulic disc road bike. It is possible, but it does take quite a bit of effort and modification, so let's see what we need.
The current
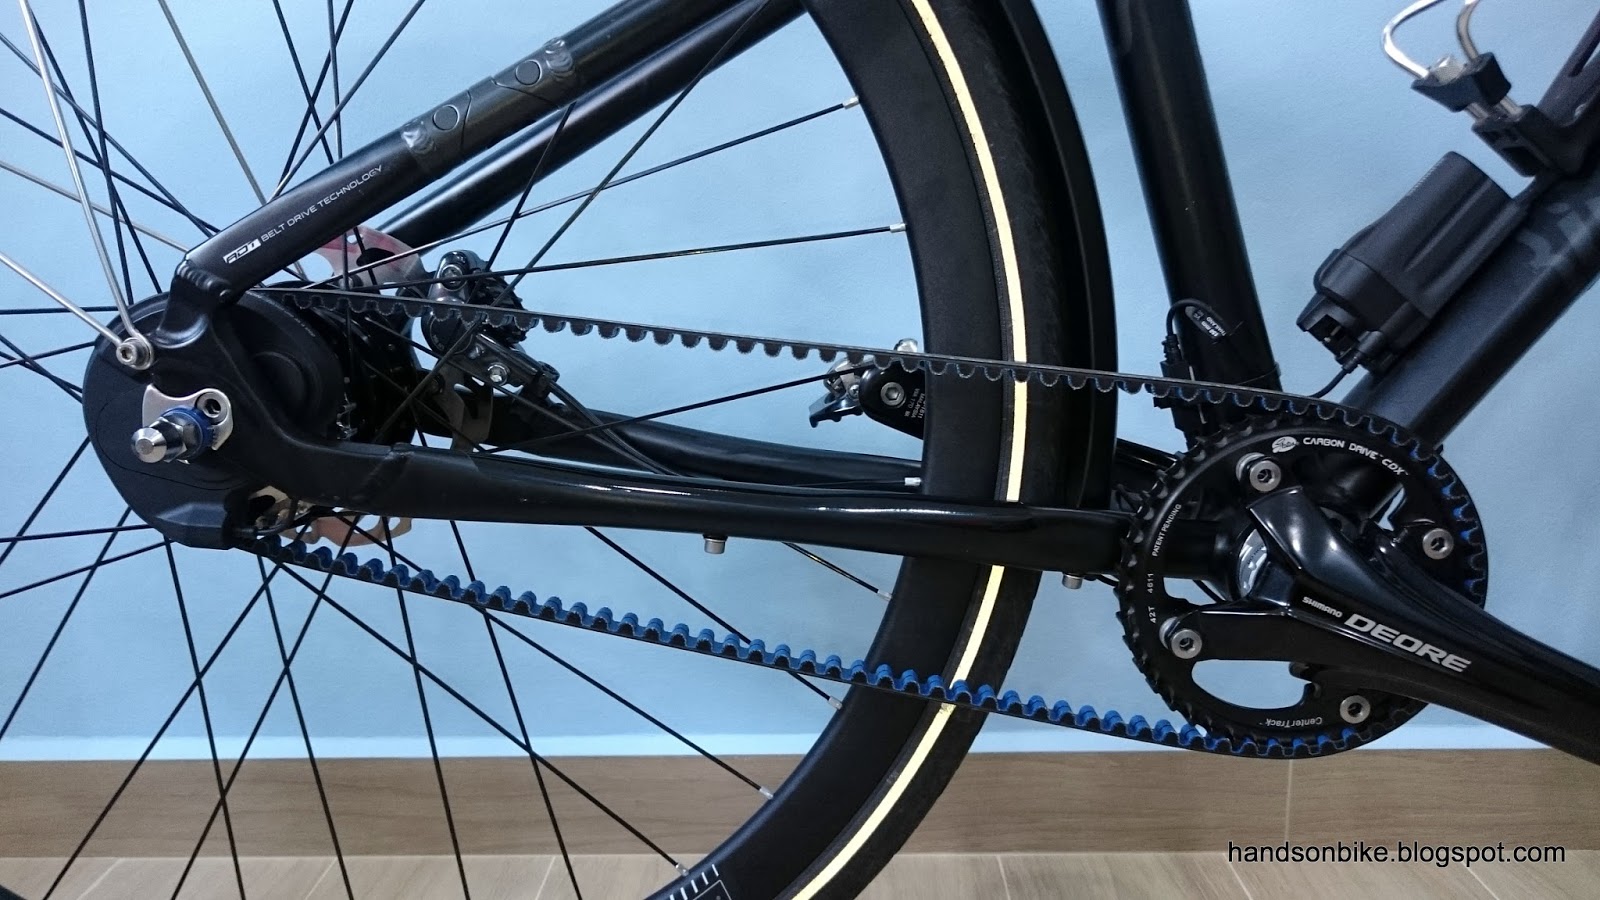
Avanti Inc 3 setup is an Alfine 11 rear internal hub with a mechanical shifter on a flat handlebar. Changing to a drop bar will require changing to a shifter that can operate an Alfine 11 rear hub. There is no mechanical drop bar shifter that is compatible with the Alfine 11 rear hub, unless we go for electronic Di2.
*There is a
third-party drop bar mechanical shifter for Alfine 11, and it looks very much like a Microshift road shifter. However, it is not using hydraulic brakes, so I did not consider it.
Therefore, to continue using Alfine 11 with a drop bar setup, I will need to change to the electronic version of the Alfine 11 rear hub, and control it using the the ST-R785 Di2 road shifter with hydraulic disc brakes.
While doing some research on the Internet, I found only one bike that is similar in specifications to my proposed setup. Alfine 11 Di2 hub with road hydraulic disc brakes and belt drive. This would be a great all-weather commuting bike that rides like an endurance road bike.
This is a major change that will affect many components on my Avanti Inc 3, so I needed to think it through properly. As far as I can see, there is no downside to this change, as I still get the all-weather features of the disc brakes, internal hub and belt drive, while getting to use a drop bar setup for more speed and better ergonomics. This also satisfies my urge to have a road hydraulic disc brake bike.
Current setup, with flat handlebar and Alfine 11 with mechanical shifting.
The Alfine 11 hub for the electronic Di2 version is slightly different from the mechanical version, as the Di2 version does not have a return spring, since both up and down shifting is controlled and driven by the external motor unit. As such, a new Alfine 11 Di2 hub is required.
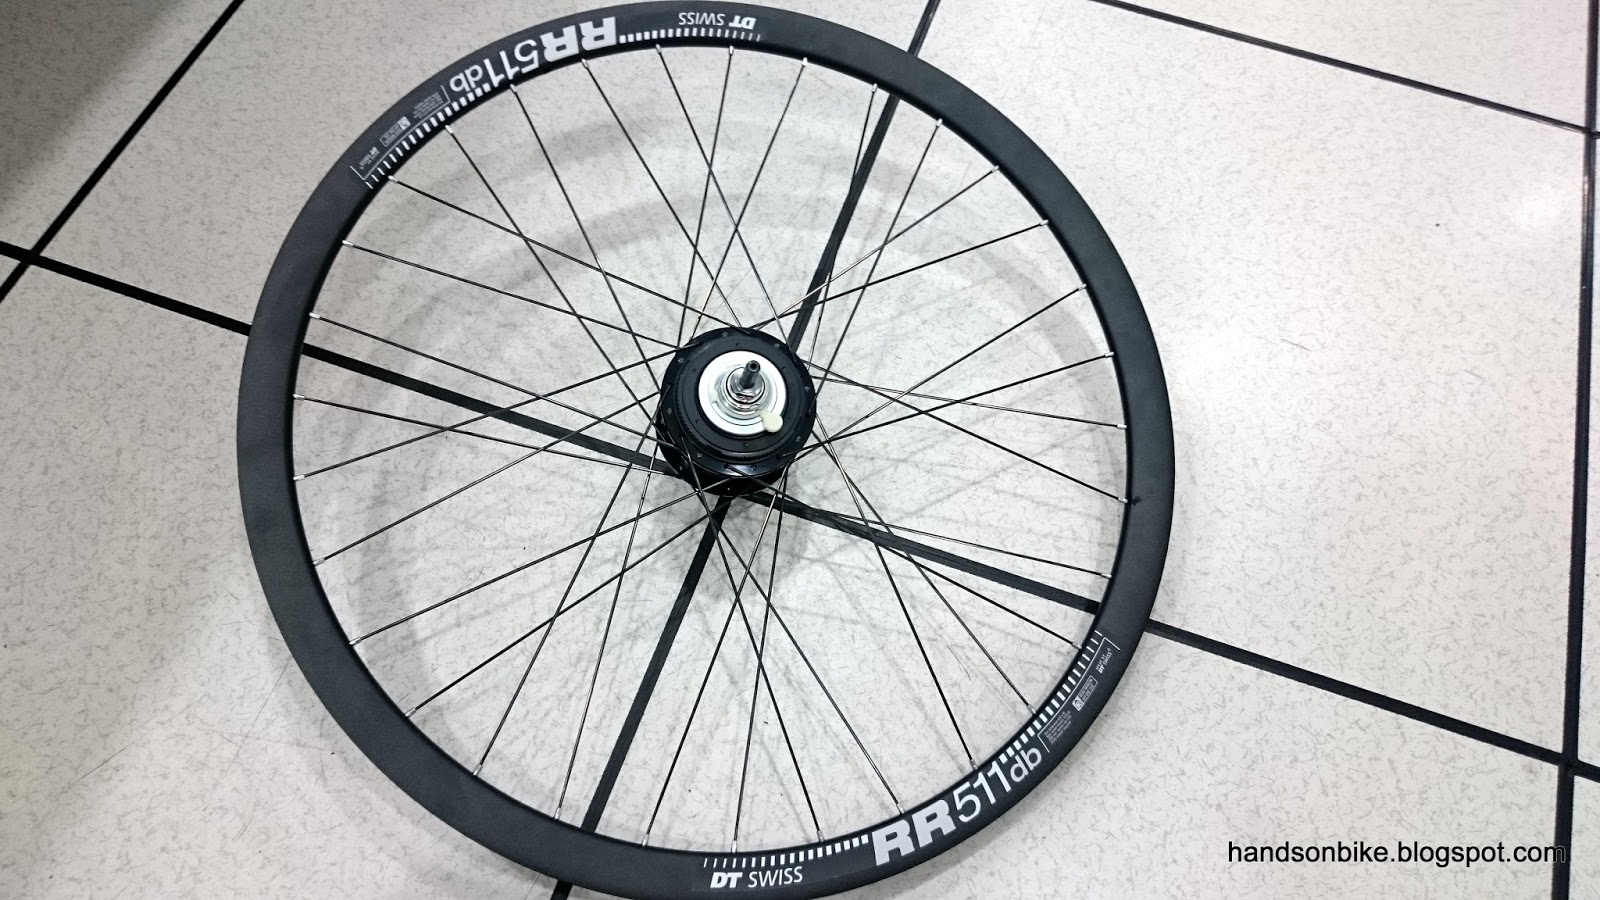
The first challenge is to find a rear wheel with Alfine 11 Di2 internal hub, SG-S705. Although it is possible to buy the rim, spokes and hub and build it myself, I am not confident in my wheelbuilding skills. Therefore, I ordered a
custom wheelset from Universal Cycles, where they will build the rear wheel with the Alfine 11 Di2 hub, and my choice of rim and spokes.
Alfine 11 Di2 rear wheel with DT Swiss rim and spokes. Looks somewhat similar to the DT Swiss Front Wheel which I changed some time ago.
Shot-blasted rim surface, with bladed DT Swiss spokes and special spoke nipples
This was the only rim I could find that looked most similar to the front wheel

Comparing the rim profile of the front wheel (left, 24mm) with the rim profile of the new rear wheel (right, 33mm)
The rim comes with its own special spoke nipples that should be used
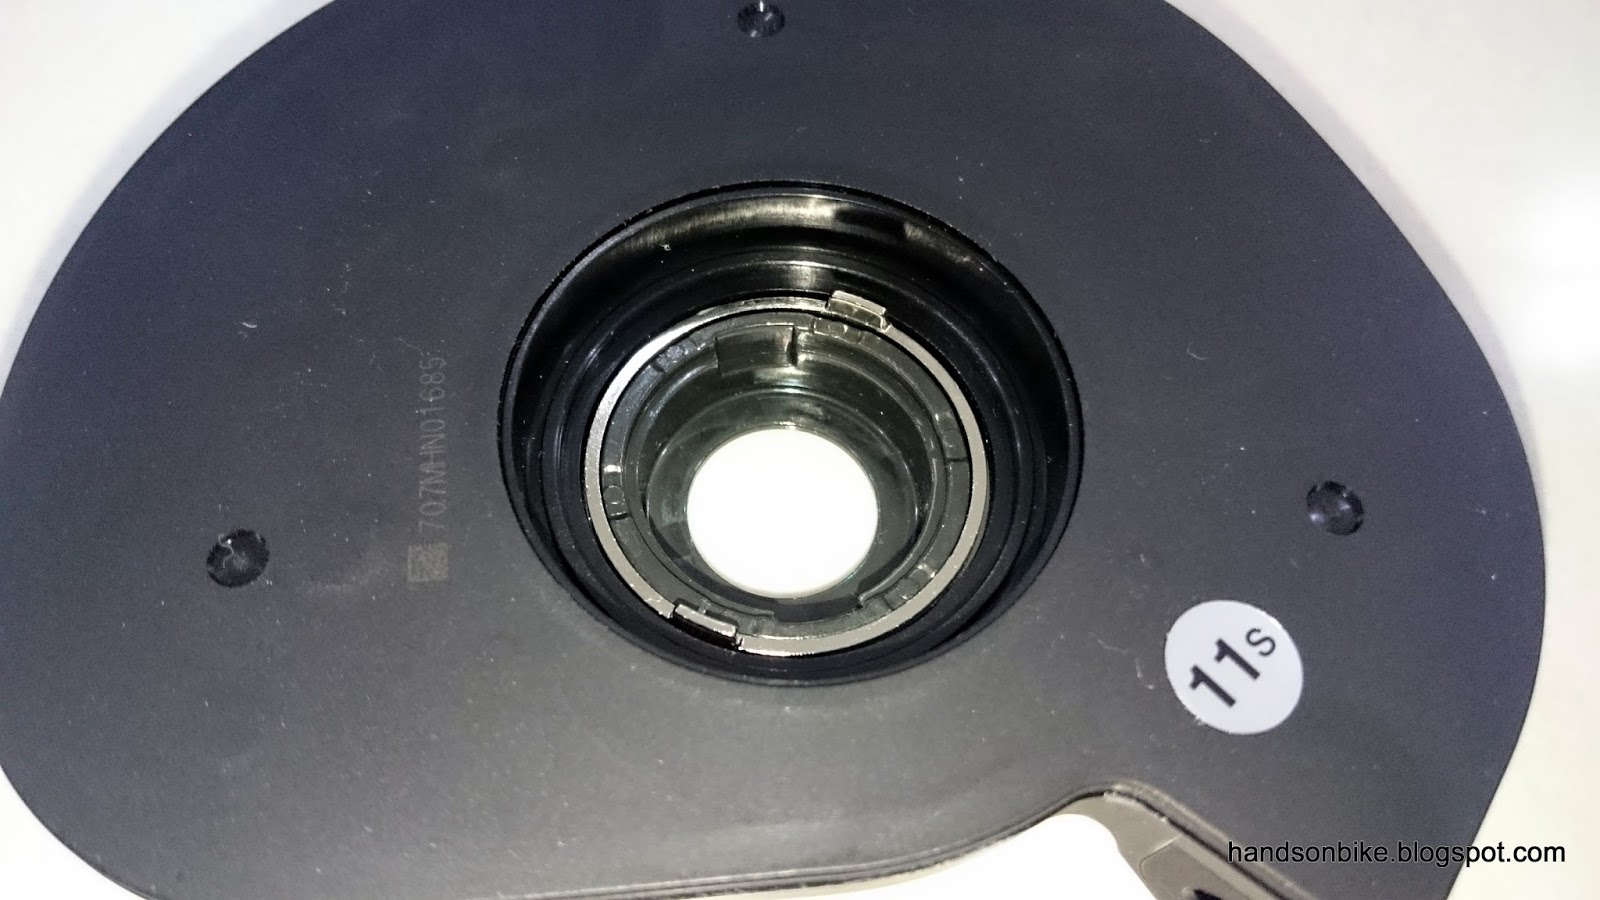
The Alfine 11 Di2 hub has been built into the rear wheel, and it also has its own accessories as shown below. The rotor spacer is necessary when mounting the disc brake rotor onto this hub. For more details, refer to this
earlier post when I changed the disc rotor. The rotor mount is used to cover the Centerlock splines if disc brakes are not used.
From left to right: Chain Guard (optional), Rotor Mount Cover, Rotor Spacer
The next challenge is to find a suitable Gates rear sprocket. Although the hub uses a standard 3 spline mounting for the sprocket, the problem is the clearance. As the Alfine 11 Di2 hub requires a motor unit (MU-S705) mounted externally to activate the shifting inside the hub, there is limited clearance for the sprocket.
As found on the Gates website, after mounting the motor unit onto the hub, there is only just enough space for the belt drive sprocket, which is wider than the standard chain sprocket. The Chain Guard as shown above will also need to be removed, while the chain line is also affected.
A special sprocket for the Alfine Di2 hub needs to be used in order to be able to fit the Gates belt drive
Alfine Di2 Gates sprocket, with extra offset to prevent interference with the motor unit. Only comes in one size of 28T.
This 28T Di2 sprocket weighs 104 grams. Also note the special SureFit design that allows flexing of the sprocket arms for more secure engagement.
The original 24T sprocket does not have the SureFit design of the newer sprockets.
The hub comes with a plastic clip to stop the Right Hand Dust Cap D (silver colour) from dropping off as it is not fixed to anything. The sprocket will press onto this dust cap after installation.
Fixing the new 28T sprocket onto the new Alfine 11 Di2 hub
The 3 arms on the sprocket will flex and press against the Driver of the hub, preventing creaking sounds caused by a loose sprocket
Apart from the limited clearance on the hub for the sprocket and the motor unit, the clearance at the front chain ring also has to be checked. Due to the chain line moving inwards by about 4mm compared to the standard mechanical Alfine 11 hub, the front chain ring also needs to be moved inwards by approximately the same amount to ensure a straight chain line.
It is necessary to have sufficient clearance between the front chain ring and the right side chain stay to prevent interference. As explained by the diagram created by Gates below, there needs to be at least 2mm of clearance between the frame and the chain ring to be safe. There will usually be more clearance if a smaller chain ring is used.
Minimum clearances required to install Alfine 11 Di2 onto the bike
Earlier on, I had checked and found that the current clearance between the right side chain stay and 42T chain ring is about 7mm
After moving the chain line inwards by 4mm, there should still be about 3mm of clearance, so it should be OK. This is based on calculations.
As the rear sprocket has been increased in size, the belt length will need to be increased as the front chain ring and chain stay length remains the same. The Gates belt thus has to be changed from the
special edition red coloured 113T belt to a longer 115T length. Since I already had a 115T belt lying around from a previous project, I did not have to buy a new belt.
First generation of CenterTrack belt, with a smooth back instead of a ribbed surface
Weighs 75 grams for the 115T belt. Much lighter than a conventional metal chain.
A miscellaneous upgrade is the saddle, where the stock saddle was getting worn out and the saddle rails were getting rusty. I came across this
Selle Italia saddle which looks pretty decent and is also inexpensive. Also, it has a synthetic leather covering which is waterproof and therefore ideal for this bike that needs to withstand rain as well.
Made in Romania! Made of FeC alloy which basically just means steel.
Simple glued construction, no staples are used.
An average weight of 270 grams for this saddle. Even has a cutout for pressure relief.
Installed in just 5 minutes, before the rest of the components
This new saddle works well and is quite comfortable. Considering the good price that I paid for it, there are no complaints about this saddle.
Back to the Alfine 11 Di2 upgrade. In this blog post, I have shown the new rear wheel with Alfine 11 Di2 hub, the new 28T rear sprocket and the 115T belt. The other components will be shown in the next few blog posts!
Part 2 here