I have had this bike for almost 3 years, and the bottom bracket has also been used for almost 3 years, ever since I upgraded the crankset to the Hollowtech II type. The bottom bracket used is a SM-BB51 Hollowtech II type, which is considered the Deore grade of Hollowtech II bottom bracket in the MTB range.
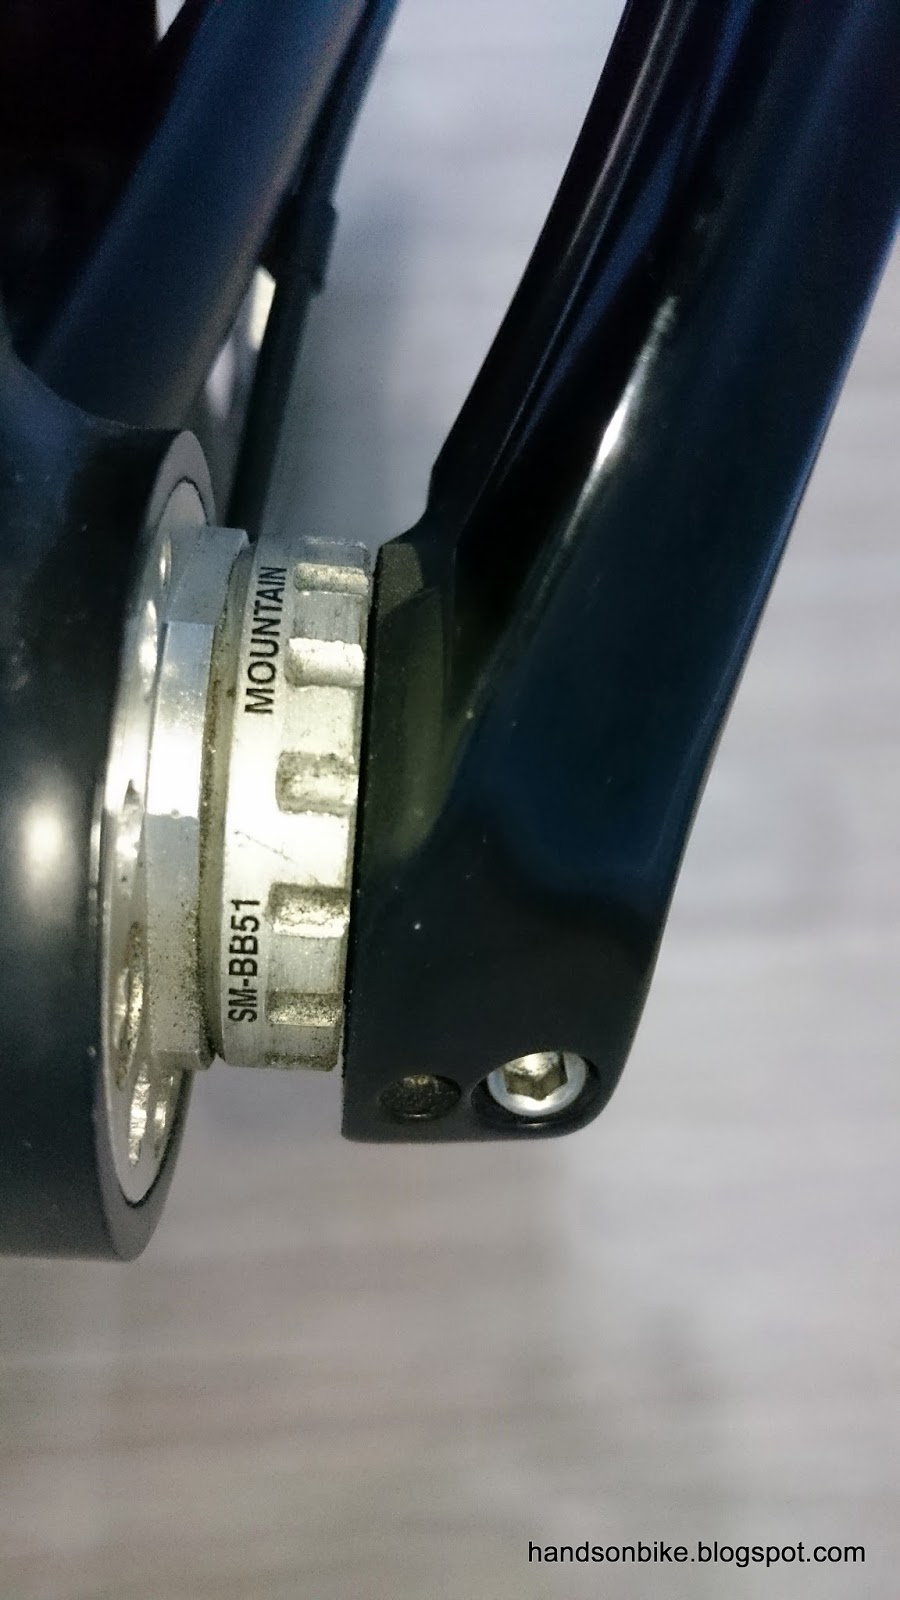
SM-BB51 Hollowtech II BB on the Avanti Inc 3
During the past few rides, I have noticed a difference in the pedaling feel on this Avanti Inc 3 bike. It felt a bit rough and unstable. Since I ride and customize all my bikes personally, I am quite sensitive to changes to the feel of the bike. For example, if the seat post height has been changed slightly, or if the tire pressure is lower than usual, I will be able to feel and detect these differences.
Finally, after finding some time to take a closer look at the bike and do an inspection, I found that the crankset felt loose. There was quite a bit of play between the crankset and the bottom bracket. My initial suspicion was that the crankarm was loose, but after removing the left crankarm, I found that there was quite a big amount of play between the crankset spindle and the bottom bracket bearings.
This means that the bearings or ball races in the bottom bracket are probably worn out, causing the large amount of play and also rough rotation feeling. The bottom bracket is considered a consumable part (similar to the chain, cassette, brake pads), which means that it is prone to wear and needs to be replaced after running for a certain amount of mileage.
In order to change out the bottom bracket, the crankset needs to be removed. Due to the belt drive system, this bike uses an eccentric BB insert for adjusting the belt tension. As such, it will not be possible to remove the crankset without first removing the belt from the front pulley.
It is possible to remove the front pulley from the crankarm and just remove the crankarm from the bike, but due to the belt tension and also the rusted chainring bolts, I decided that it would be easier to just remove the entire crankarm than dismantle the front pulley from the crankarm.
This brings us to the next step. In order to remove the belt from the front pulley, it will be necessary to remove the rear wheel, so that the belt tension is released for the belt to disengage from the front pulley.

Removing the rear wheel. I took a picture to remember that the green non-turn washer is on the left side, while the blue non-turn washer is on the right side. Your bike may have different coloured washers, depending on the angle of the rear dropout.

With the rear wheel removed, there is no more tension on the belt and the belt can be removed from the front pulley easily.

Since the rear wheel is out, I weighed it (Alfine 11 hub rear wheel + sprocket + disc rotor + inner tube + tire), and it is 3.4kg! A typical road bike rear wheel would weigh about 1.5kg (rear wheel + inner tube + tire + cassette).

As mentioned earlier, the left crankarm is first removed to expose the crankset spindle.

Gritty bottom bracket, as it has never been serviced despite riding the bike in rain often. Also shown here is the eccentric BB insert that is used to adjust the belt tension.

The crankset removed. Black grease shows that it has been in use for quite some time. Also shown is the rusty chainring bolts, which I would rather not touch as it is likely to give me more problems.

Time to remove the old SM-BB51 bottom bracket!

The bottom bracket was very tightly fixed to the frame, and it was too tight to remove with a normal Hollowtech II tool. The solution is to slip on a Dahon seatpost, which is large enough to go over the handle of the original tool. This gives plenty of leverage which makes it easy to unscrew the bottom bracket.
Once the old bottom bracket is removed, I took the chance to clean up the whole bike, since the rear wheel is also already out of the frame. After that, it is time to put in a new bottom bracket and reinstall all the components!
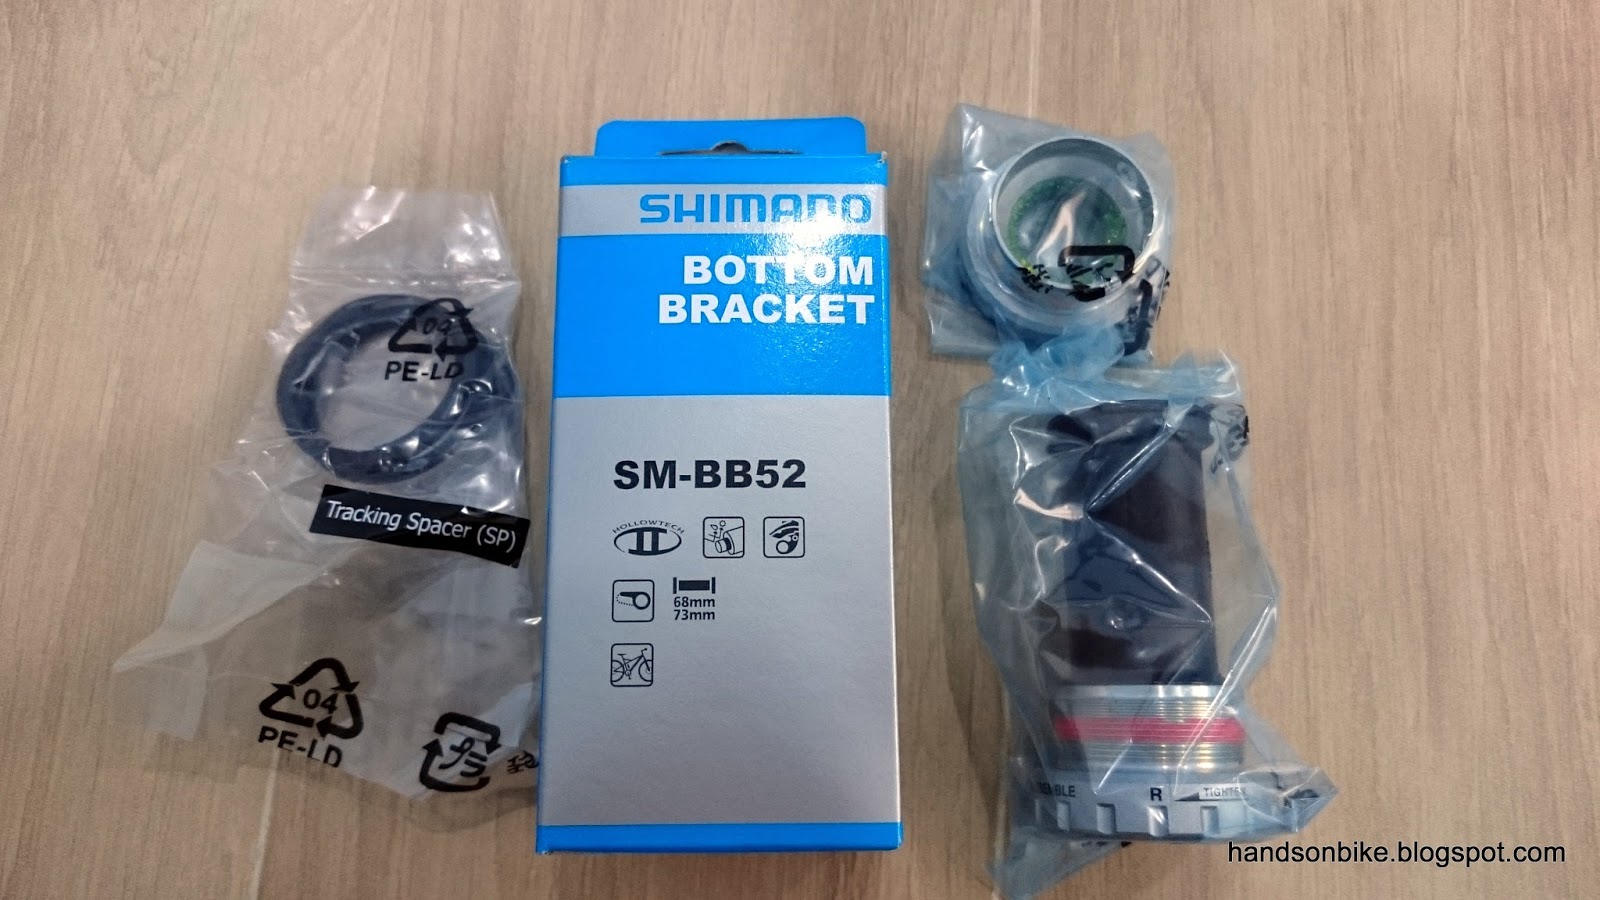
Deore grade SM-BB52 Bottom Bracket, an updated version of the older SM-BB51. From what I heard, they improved the sealing to be equal to the higher grade SM-BB70.
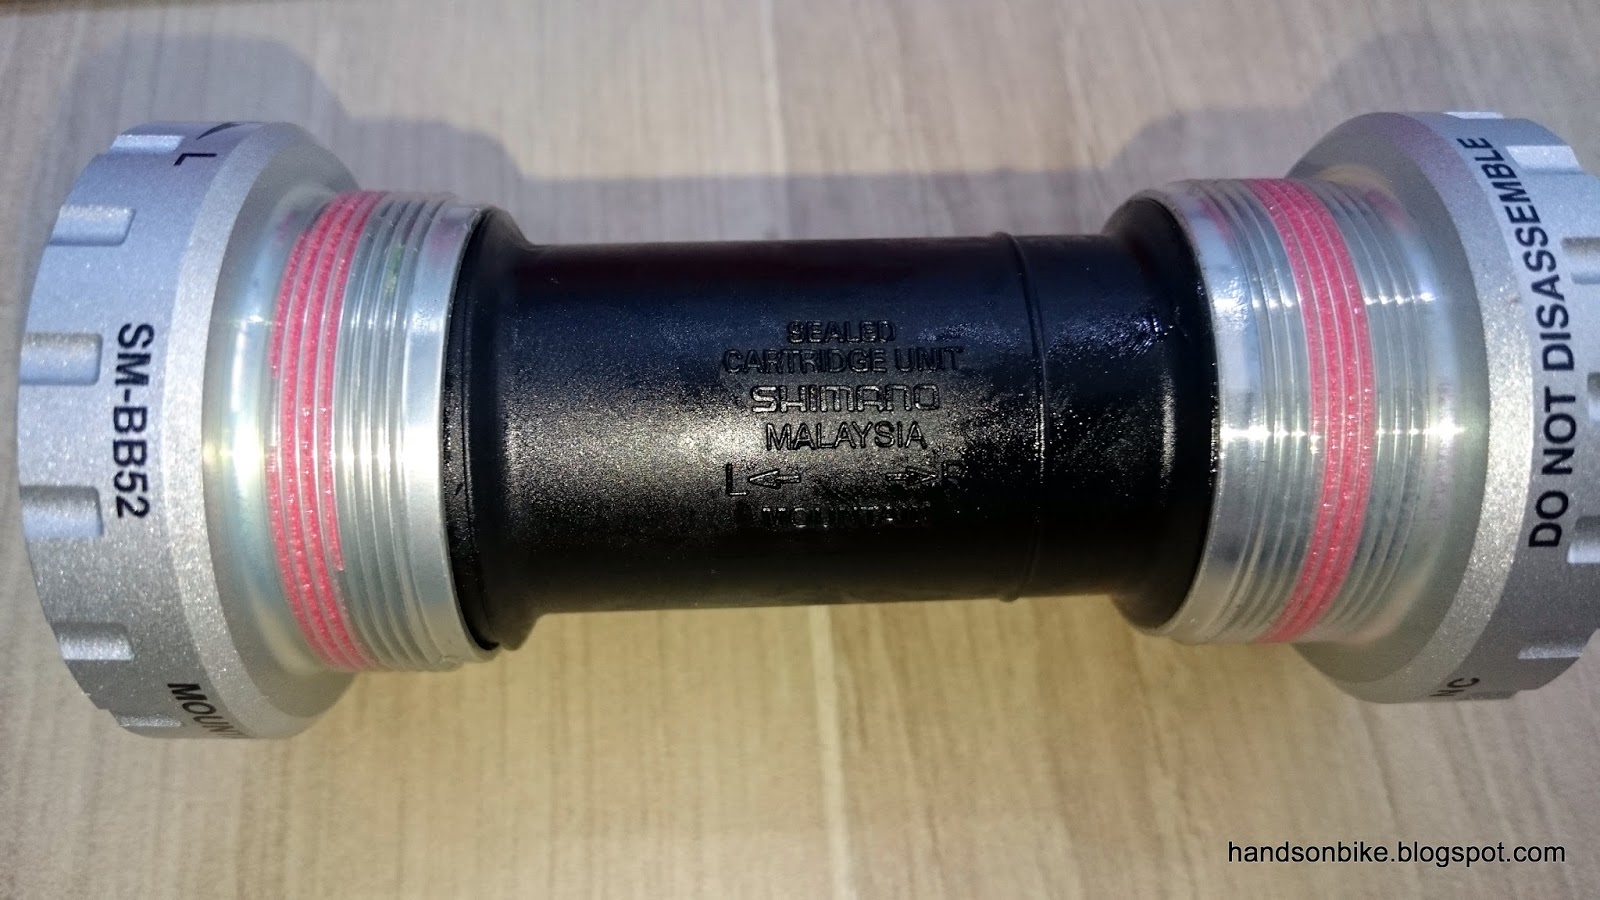
Close up view of SM-BB52 bottom bracket. If the sealing has been improved, it will last longer than the SM-BB51 that was previously on the bike.


Cleaned up eccentric BB and frame, ready to accept the new SM-BB52 bottom bracket!

SM-BB52 bottom bracket installed easily

Sufficient grease on the metal-to-metal contact surfaces to prevent binding and improve sealing against water.

It is recommended to use a torque wrench to achieve proper tightening torque at critical areas, such as crank arm bolts.

After the new bottom bracket has been installed, all the other components can be fixed back onto the bike.
Although changing out a bottom bracket may take quite a bit of effort and time, it is not a difficult job if you are using a Hollowtech II type of bottom bracket. Also, it is not often that you change a bottom bracket, as a good bottom bracket can last at least a few years.
With the new bottom bracket, the pedaling feel is smooth again! There is no more play in the crankset, and the bike is now running well again after this servicing.
No comments:
Post a Comment
Every comment is moderated before publishing due to spam bots. If you don't see your comment yet, it is likely that it is currently being reviewed. Thank you for your patience!